
Managing Account
Learn how to update and add information to your account.
in this section
- Adding team members
- Managing your mail with folders
- Managing your forwarding address
- Update Email/ Reset Password
- Managing Account Names
- Can I add additional names to my account?
- Adding team members
You can allow team members to access and manage the mailbox. This grants other members specific access, for example, Users can have permissions on certain folders and Managers can see all mail.
The cost of this is $7.25 per member per month.
Note: you must be on the Business plan to do this.
Setting up access
1. To add a team member, click on Settings followed by Team Members and click the + Invite Members:
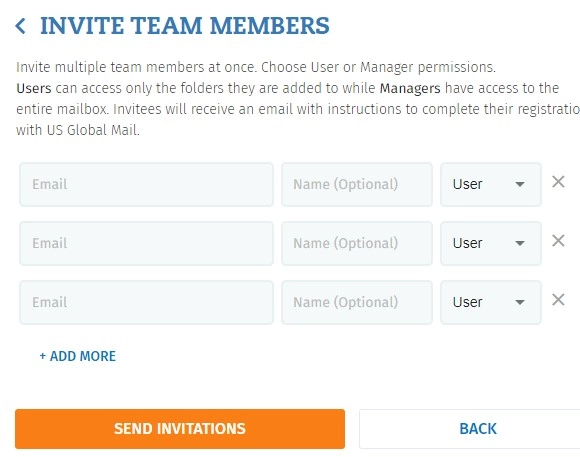
2. Then enter the email addresses of those you wish to grant access to and select User or Manager from the dropdown menu.
3. Click Send Invitations to complete the process.
Assigning permissions for Users
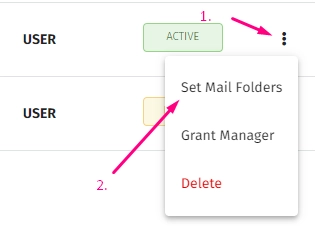
1. To set the folders click on the three dots next to the person’s name and click Set Mail Folders:
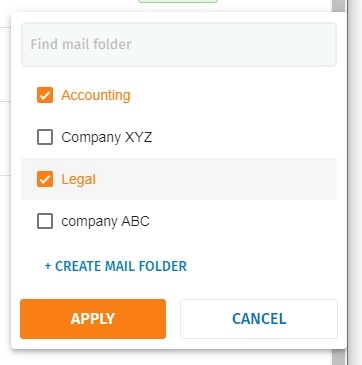
2. Click the check boxes next to the folders then click Apply:
Changing a User to a Manager
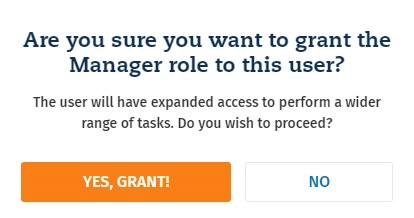
1. Click on the User’s three dots and then click Grant Manager:
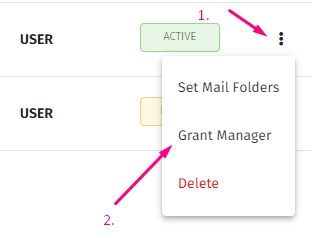
2. Click YES, GRANT! at the popup to complete this:
Changing a Manager to a User
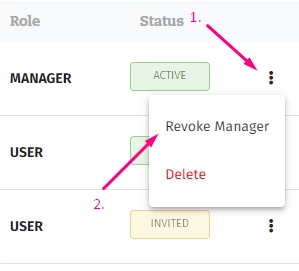
1. Click on the Manager’s three dots and then click Revoke Manager:
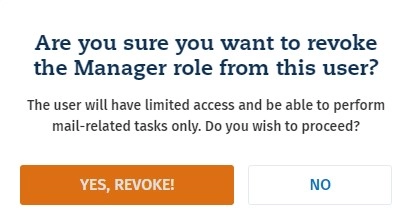
2. Click YES, REVOKE! at the popup to complete this:
- Managing your mail with folders
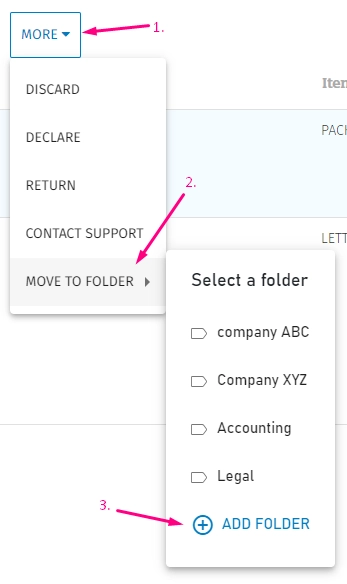
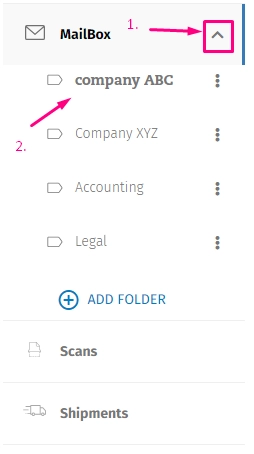
With all plans, we allow customers to sort their mail by creating folders within the Mailbox section. To sort your mail you just need to select the item, click More and move it to the relevant folder (or create a new folder):
To view the mail in folders, simply click on the caret symbol (^) in the Mailbox section:
- Managing your forwarding address
After receiving letters and packages at your US Global Mail address, you might want to get the items where you are. That’s when you need to add a forwarding address (for example: your new overseas address) to your account.
The forwarding addresses can be either in the US or overseas. We can also forward to APO addresses.
You can add UNLIMITED addresses to your account, and forward your items to different addresses every time. No worries even if you move around; forward the items to where you are.
ADD OR UPDATE A FORWARDING ADDRESS
NOTE: Changing an address does NOT automatically update on your open shipments. If you need to update the addresses for any shipments, you need to edit for each shipment.
1. Log In To Your Account, click on “Manage Address Book”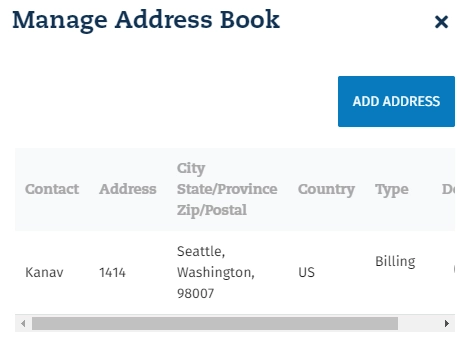
2. To add a new address, click “Add Address”- Choose whether the address will be a shipping, billing, or check deposit address type. Enter all the required information. Click “Make this address my default address” if you want it to be a default address when shipping. Click “ADD”.
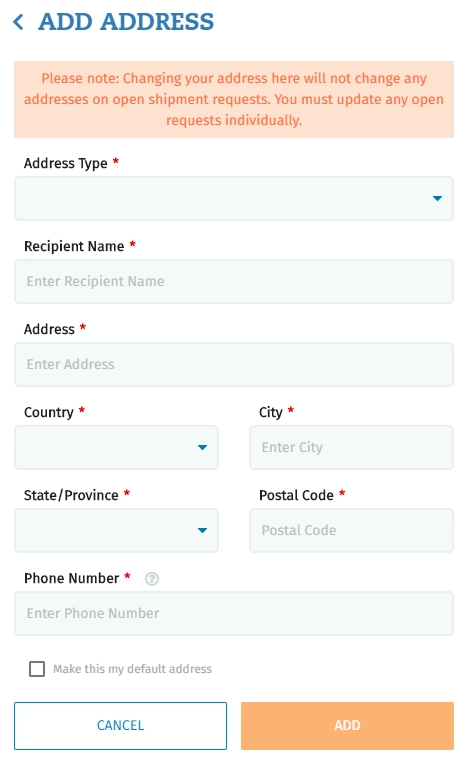
- To edit an existing address, hover over the type of address and click “Update”

- To edit an existing address, hover over the type of address and click “Update”.
MAKE AN DEFAULT ADDRESS
- Click the circle of the address you wish to make default

DELETING AN ADDRESS
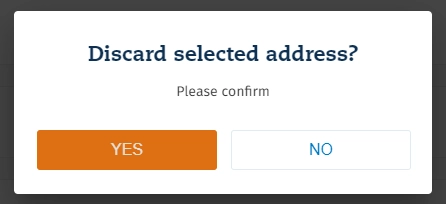
To delete an address, hover over the type of address and click “Delete”.
- A window will pop up asking you to confirm the deletion, click “YES”.
- Update Email/ Reset Password
It is very easy for you to update your email address or password whenever you need to make a change. This can be performed directly from your account.
You will need to log into your account by entering your username and password via our login page.
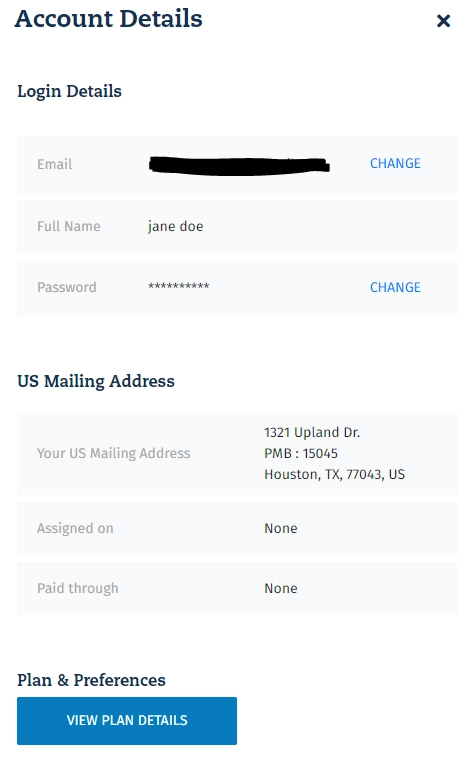
1. Go to the SETTINGS tab and click ‘Account Details’. You will see the following:
2a. Tochange your email address click the blue ‘CHANGE’ link next to your email.
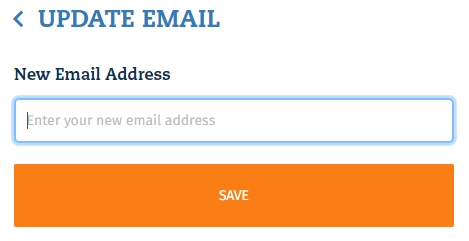
- You should get the success confirmation at the bottom of the page:

2a.To change your password, click the blue ‘CHANGE’ link next to your password.
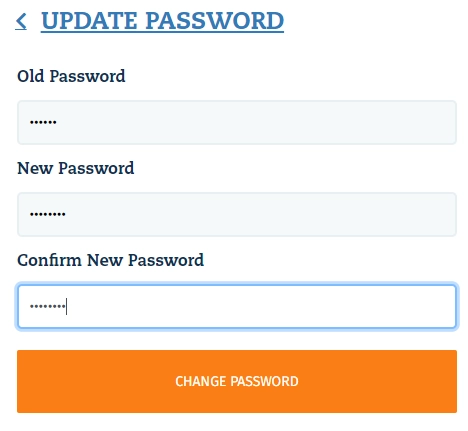
You should get the success confirmation at the bottom of the page:

If you come across any issues with the above, simply let us know and we’ll be happy to help you.
- Managing Account Names
Your account can receive mail under multiple names if you are on a Family or Business plan.
ADDING ACCOUNT NAMES
1. Log In To Your Account, go to “SETTINGS” and click on “Manage Account Names”
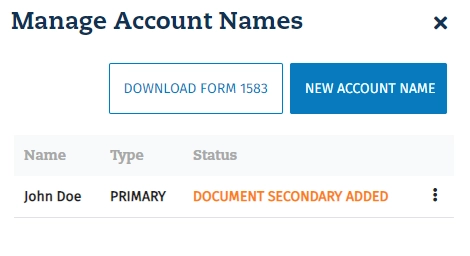
2. Click “Add New Account Name”
Enter the Name and Description for the new name, then click CONTINUE
- Type of users: Spouse, Minor Child, Deceased/Estate, Reject: Return to Sender, or Other.

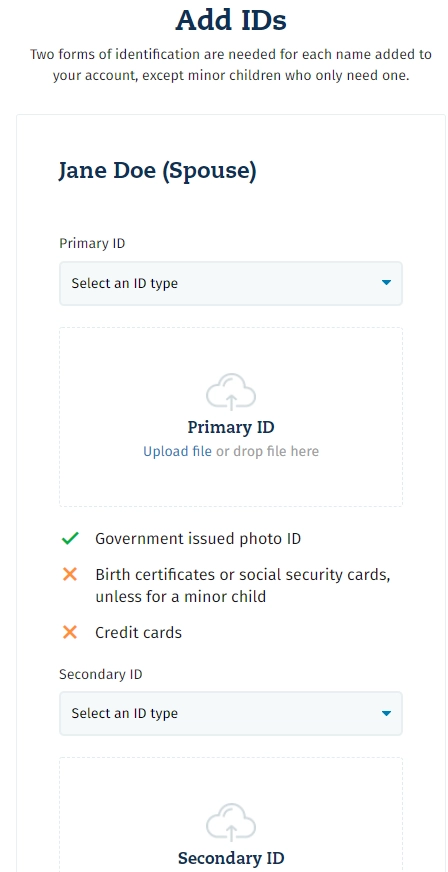
3. Upload your forms of ID:
Select the type of ID and upload the file. Scroll down to upload the secondary ID. Click CONTINUE.
DIFFERENT NAMES
Adding alternative names for one person
- You can add different names of yours (ex: maiden names) in all plans).
- You’ll need to show us IDs of these names (even if the IDs are no longer valid).
- Contact us to add your alternative names to the account.
Adding names of a deceased family member
Add the name to your account, and provide us the death certificate as one ID as well as a document indicating you are the executor of their estate as the secondary ID. You can add a deceased family member’s name to your form 1583.
Adding a company name
To receive items under a business name, you will need to add a business name to your account. We also need you to provide a document that ties your name to your company name as proof of ownership. These include:
- Incorporation certificate
- Commercial Registration
- Certificate for The Registration of The Name along with a photo ID of the officer named in the document.
Please note: your account must be a business account to add business names. If you are currently not on a business plan, you’ll need to upgrade your plan.
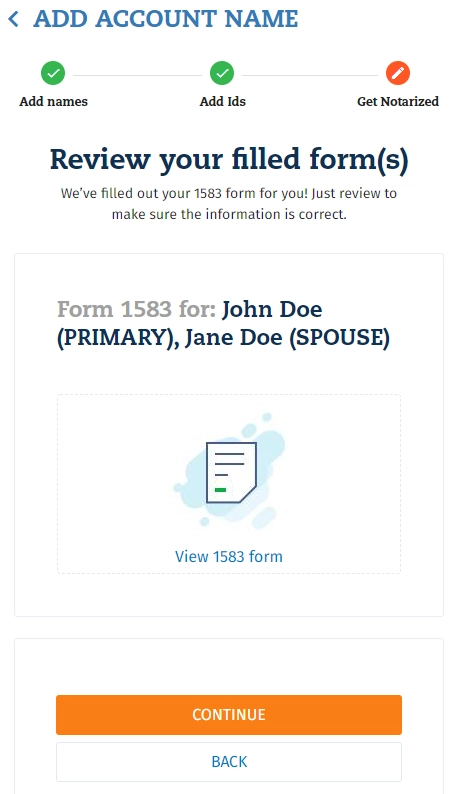
4. Review the 1583 form
- Click View 1583 Form to verify the information listed is correct
- Click CONTINUE to view Notary options.
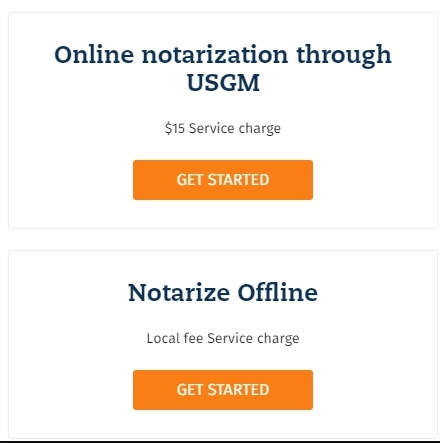
5. Schedule Notary appointment or upload notarized form.
- Click GET STARTED for the USGM option to schedule an appointment with our notary
- Click GET STARTED for the Notarize Offline to upload your notarized 1583 form
- Can I add additional names to my account?
Yes, you can add additional names on the Basic plan for $5 per month.
Or you can upgrade to the Plus plan and have up to 10 personal names.
The Business plan also offers up to 10 names but these include personal and business names.


